Creating Custom Reports
When you are cloning an entity from Custom or Built-in Reports, you are working with report definitions. As a result, a new custom report definition is created.
As said, each report definition is a per-Enterprise entity; thus, its cloning requires the Manage Reports permission with Enterprise scope. See also Permissions in Detail.
To clone a built-in or a custom report:
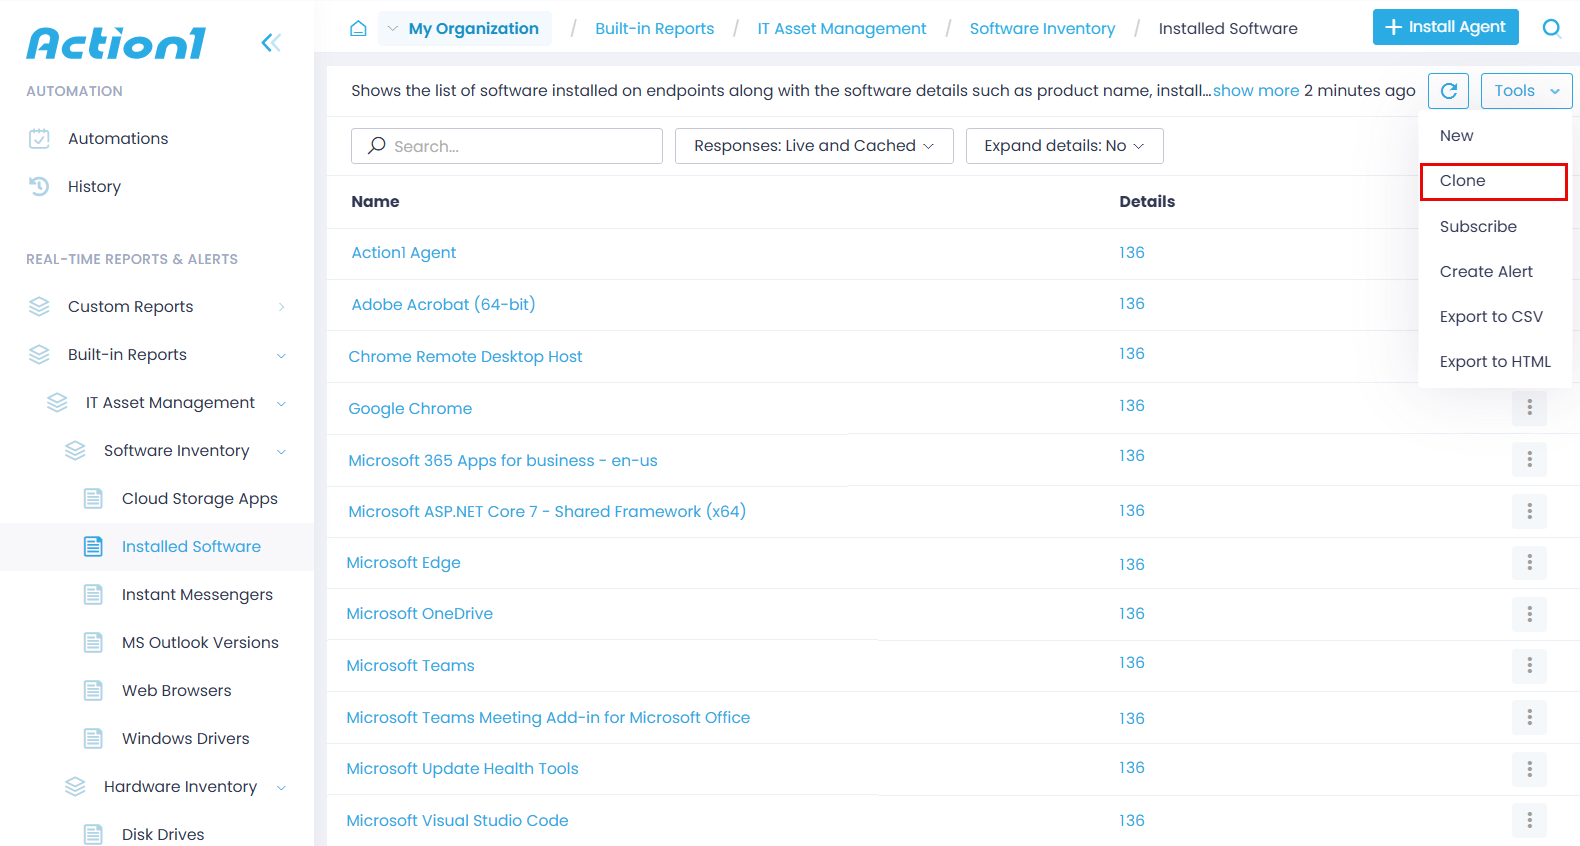
- Navigate to the required report under Real-Time Reports & Alerts.
- From the Tools menu, select Clone.
- Confirm the operation to start the Report Wizard.
- At the General step, provide the new report name and description. The new report will be based on the same data source as the original report.
- At the Columns step, select the report type and the columns you want to include in the new report. Initially, the cloned report has the same columns and type (Summary or Simple) as the original one.
NOTE: If you want to change the report type, consider that all currently selected columns will be deselected, and you will need to specify them anew.
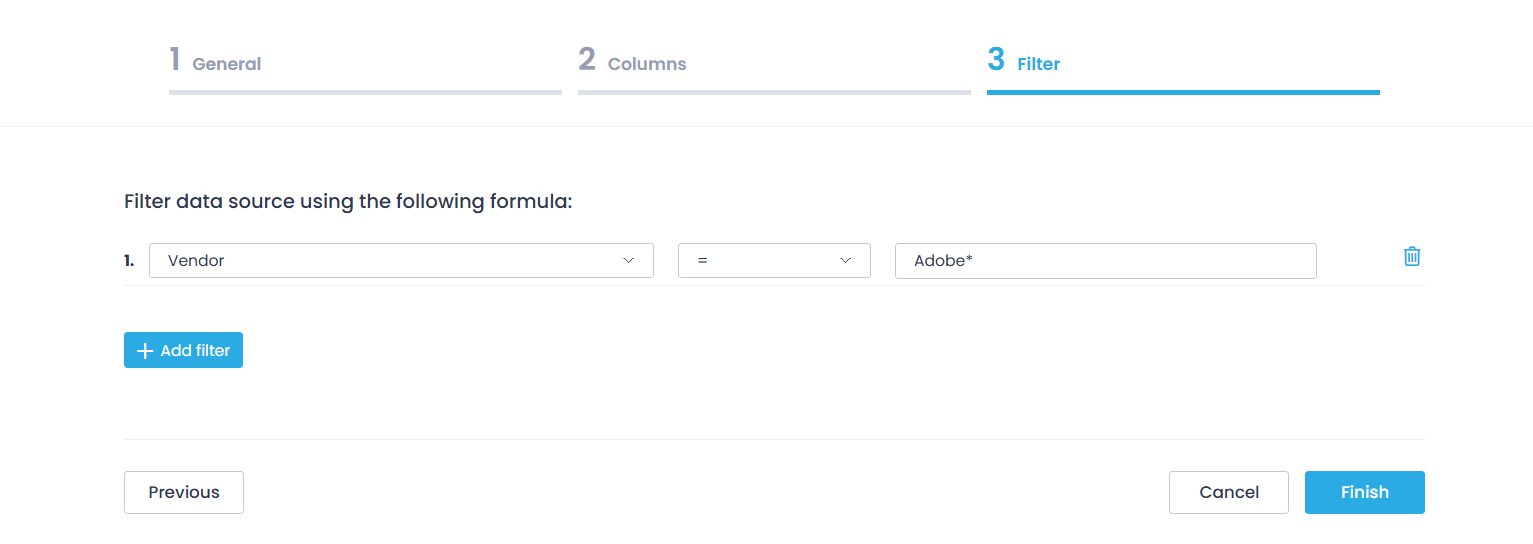
- At the Filter step, specify filters that will be applied to the raw data from the data source when populating the report.
- Finally, click Finish.
The new report will appear in the navigation tree under Custom Reports.

