Automation with Action1
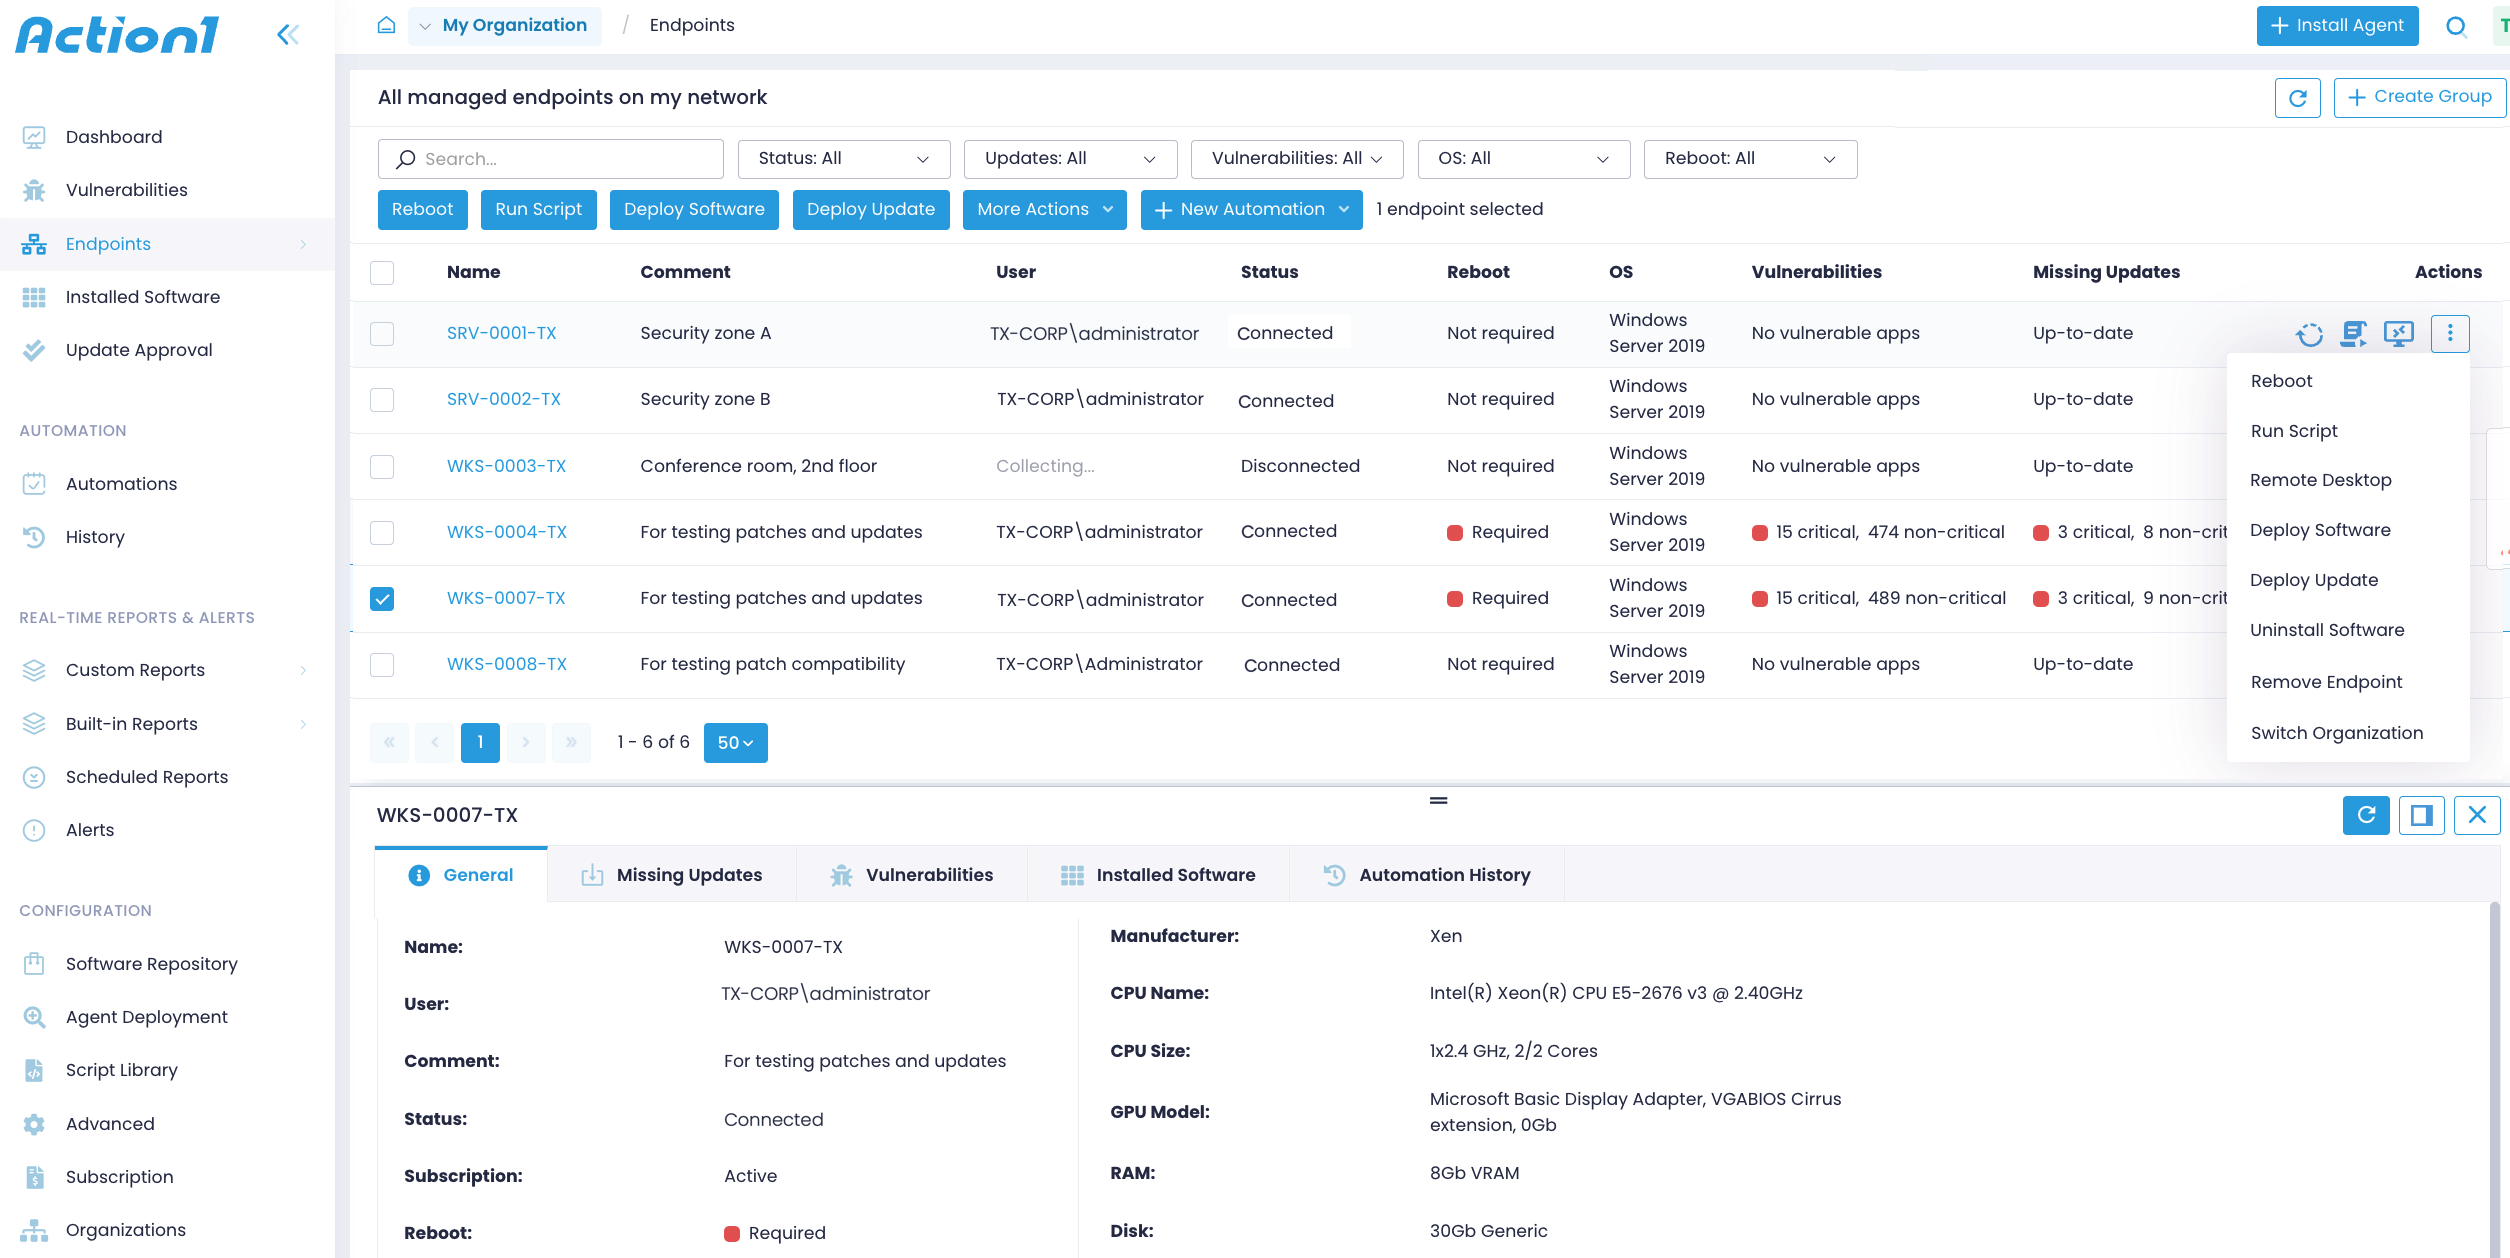
An automation is any one-time or recurring management activity such as running a script, deploying software, or restarting a computer. Action1 enables you to run automated actions right from the Endpoints dashboard. On top of that, Action1 provides a centralized location for organizing all your scheduled and preset automations. Navigate to Automations to see a list of pending actions and the as well as the execution history.
As an administrator, you can leverage automations with one-time actions while planning the maintenance works and create recurrent automations to run according to a schedule. With automations, you can assess compliance with certain rules and execute response steps if necessary, for example ensure an antivirus app is installed on all computers and force deployment to those that miss it. Automations enable you to check your IT infrastructure state, see compliant endpoints and help others to keep up with them.
Most commonly, Action1 automations are used for patch management and continuous update delivery since they enable you to configure deployment routines, set a timetable, and leave it operating on auto-pilot. Yet, you can leverage automations for running one-time actions whenever necessary.
Ideas for Creating Automations
- Patch management—create an automation to check that your endpoints have the latest updates installed and eventually deploy missing updates.
- Vulnerability management—create an automation to discover and hnadle untreated vulnerabilities.
- Office tools—create an automation that verifies all the necessary tools are installed on your employees’ workstations.
- Malicious apps management—create an automation that ensures no malicious software is installed. It scans your system for suspicious apps and uninstalls them if necessary.
- Desktop management—create an automation that ensures all workstations have the same desktop settings. It will run an update script on workstations that don’t meet specified conditions.
- Administration—create an automation that checks vital metrics for system (e.g., the number of failed login attempts, days since last computer reboot or password change) and force actions on endpoints that don’t match your desired result.
Available Actions for Automations
- Reboot (see Restart Endpoints Remotely for detailed instructions)
- Run Script (see Run Scripts Remotely for detailed instructions)
- Deploy Software from the Software Repository (see Deploy Software for detailed instructions)
- Deploy Update (see Roll Out and Deploy Updates for detailed instructions)
- Uninstall Software (see View Installed Software for detailed instructions)
- Update Ring (see Update Ring for detailed instructions)
Adding a New Automation
- Navigate to Automations. Alternatively, pick the workstations and select an action on the Endpoints page.
- Select + New Automation and specify an action.
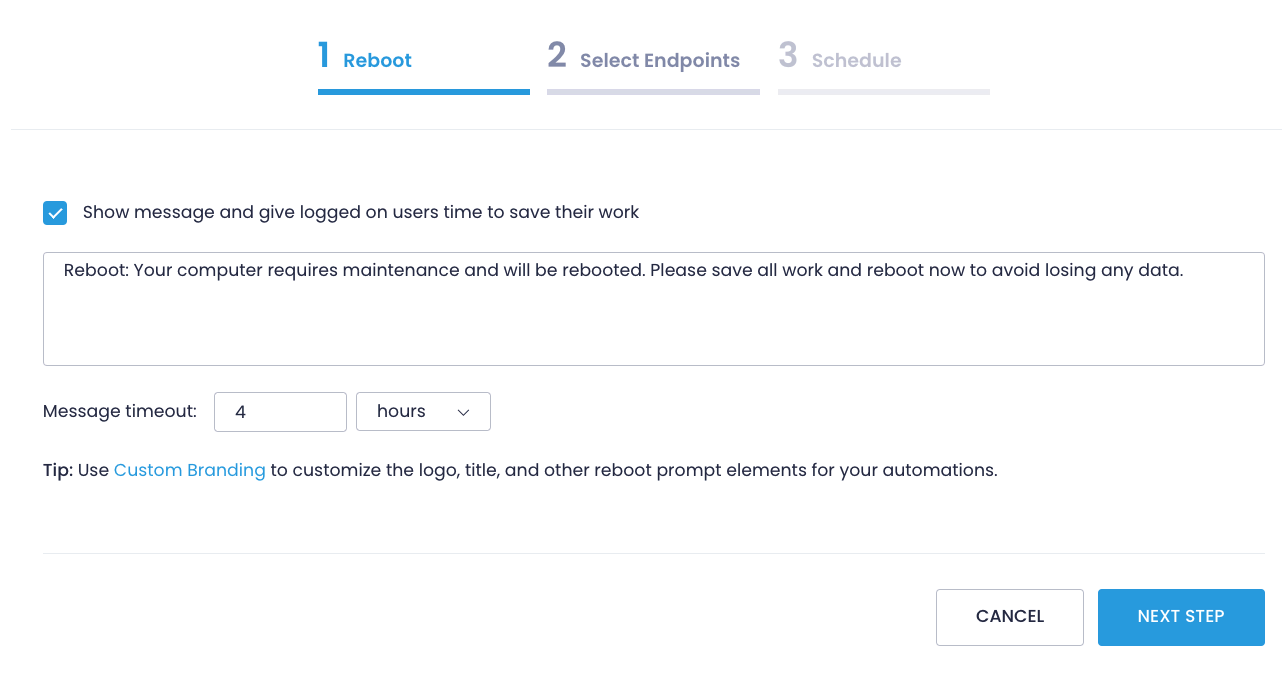
- Provide details about the action to be executed:
- Reboot (see Restart Endpoints Remotely for detailed instructions)
- Run Script. Provide the script (CMD or PowerShell). Optionally, if want to verify the endpoint state before executing the main script, you can provide the condition script (CMD or PowerShell) and specify the meet exit codes. Action1 will run this script first and if the condition script exits with something diffirent than the meet exit code, than Action1 will run the main script. The main script is meant to bring the endpoint into compliance. For example, check the number of days since the last endpoint shutdown and force shutdown is the number of days is more than 90. Feel free to select one of the scripts from the Script Library or save a new script to reuse it later. (see Run Scripts Remotely for detailed instructions)
- Deploy Software (see Deploy Software for detailed instructions)
- Deploy Update (see Roll Out and Deploy Updates for detailed instructions)
- Uninstall Software (see View Installed Software for detailed instructions)
- Update Ring (see Update Ring for detailed instructions)
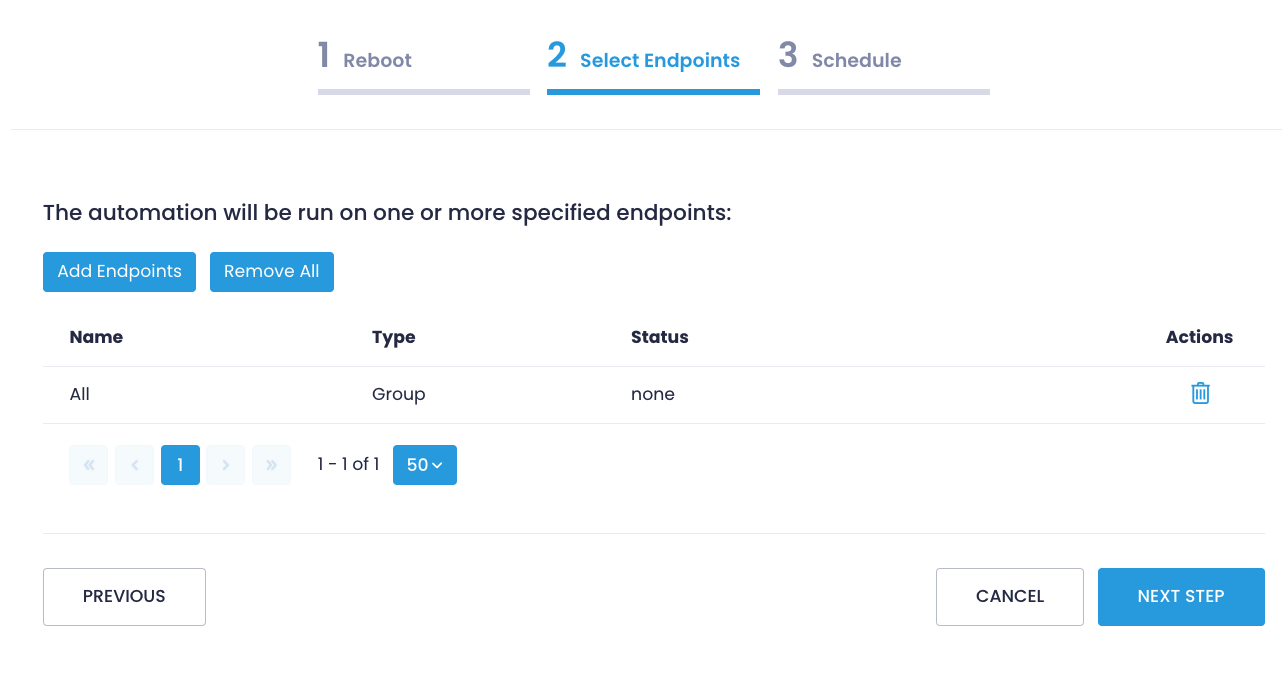
2. On the Select Endpoints step, select Add Endpoints. Action1 enables you to add endpoints individually, or you can specify an entire endpoint group.
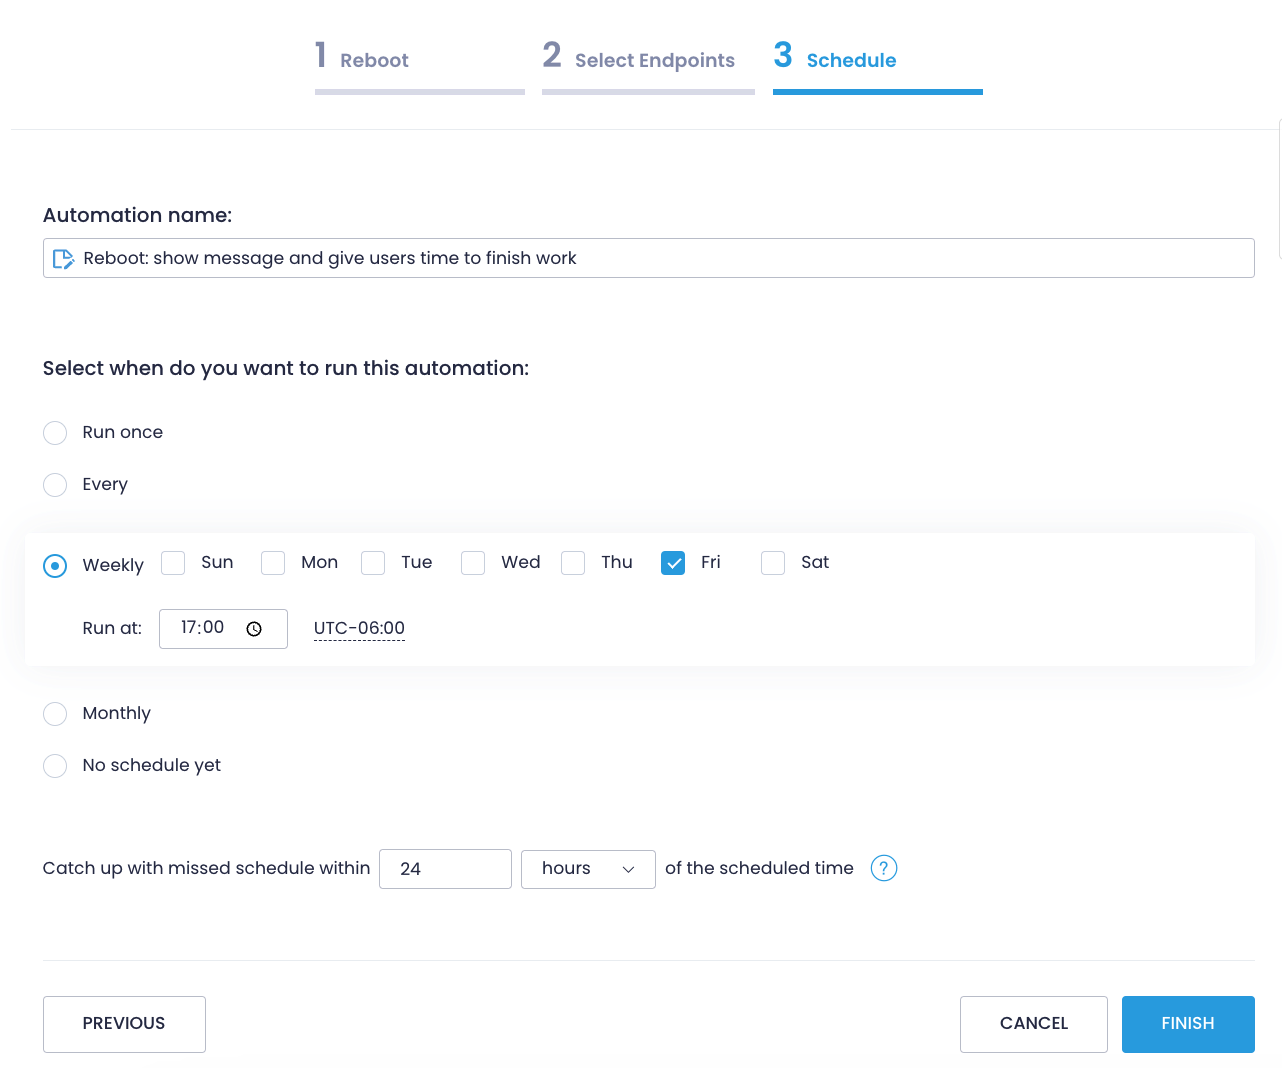
3. On the Schedule step, provide an automation name and define how often you want to check your endpoints and apply the automation. You have the following options:
- One-time action: run the automation once – now or at a specified time.
- Scheduled: verify the compliance every X hours, every day, every week, or every month.
- Not scheduled: keep a preconfigured automation in the Automations and run it as needed later.
Set the missing schedule time frame setting so that the powered-off endpoints can catch up with the automation. Make sure the time frame doesn’t exceed the frequency of the execution, i.e., don’t set it to 3 days for automations running on a daily basis. Once ready, click Finish.
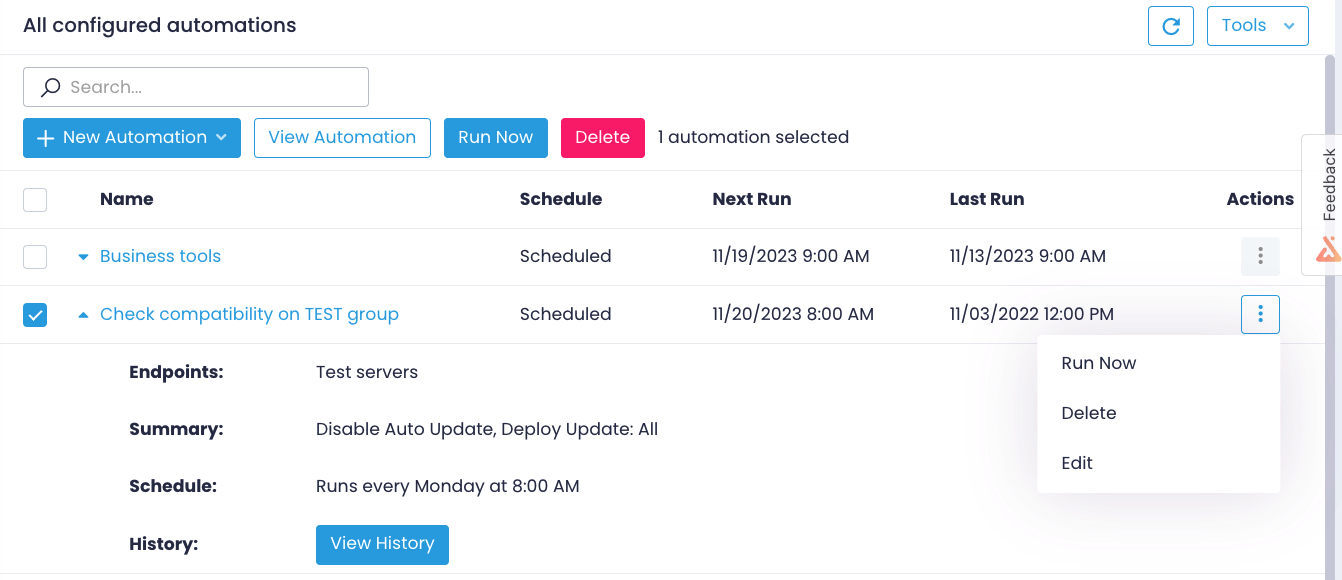
New automation will be added to the list on Automations page. On the Automations page, for each automation you’ll see the status (Scheduled or Not Scheduled), the last run date, the next scheduled run, the current schedule, and history details. You can also force the automation to run now from this page. When running a automation outside its preset schedule, you can also update its scope, i.e., overwrite the list of endpoints.
Review Execution Details
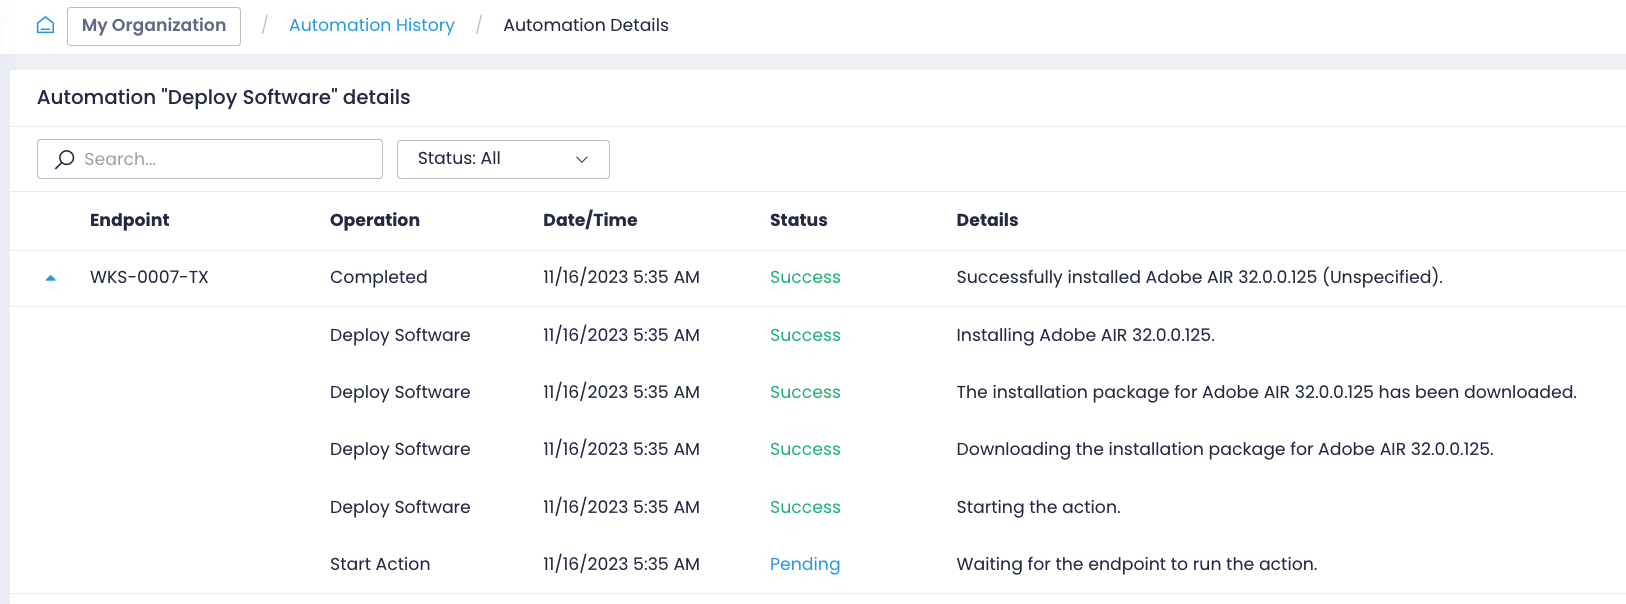
If you are interested in execution details or need to troubleshoot a failed action, check out the Automation / History page.
