Remote Desktop
Action1 enables you to connect to remote endpoints and manage them right in the web browser. Turn on a remote desktop to assist your co-workers or set up unattended access where no one is logged in.
To set up a remote connection to your endpoint:
- Navigate to the Endpoints dashboard.
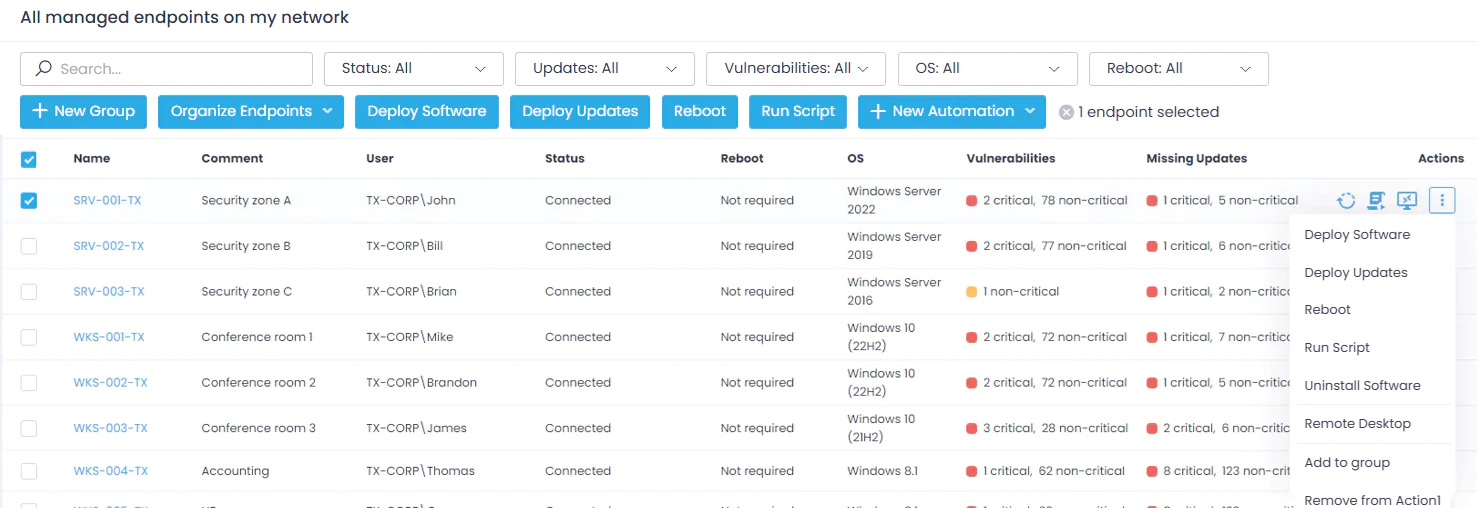
- Click on the remote desktop icon next to an endpoint you want to connect to. Alternatively, click the icon in the Actions column and select Remote Desktop. For your convenience, you’ll see the last logged in user.
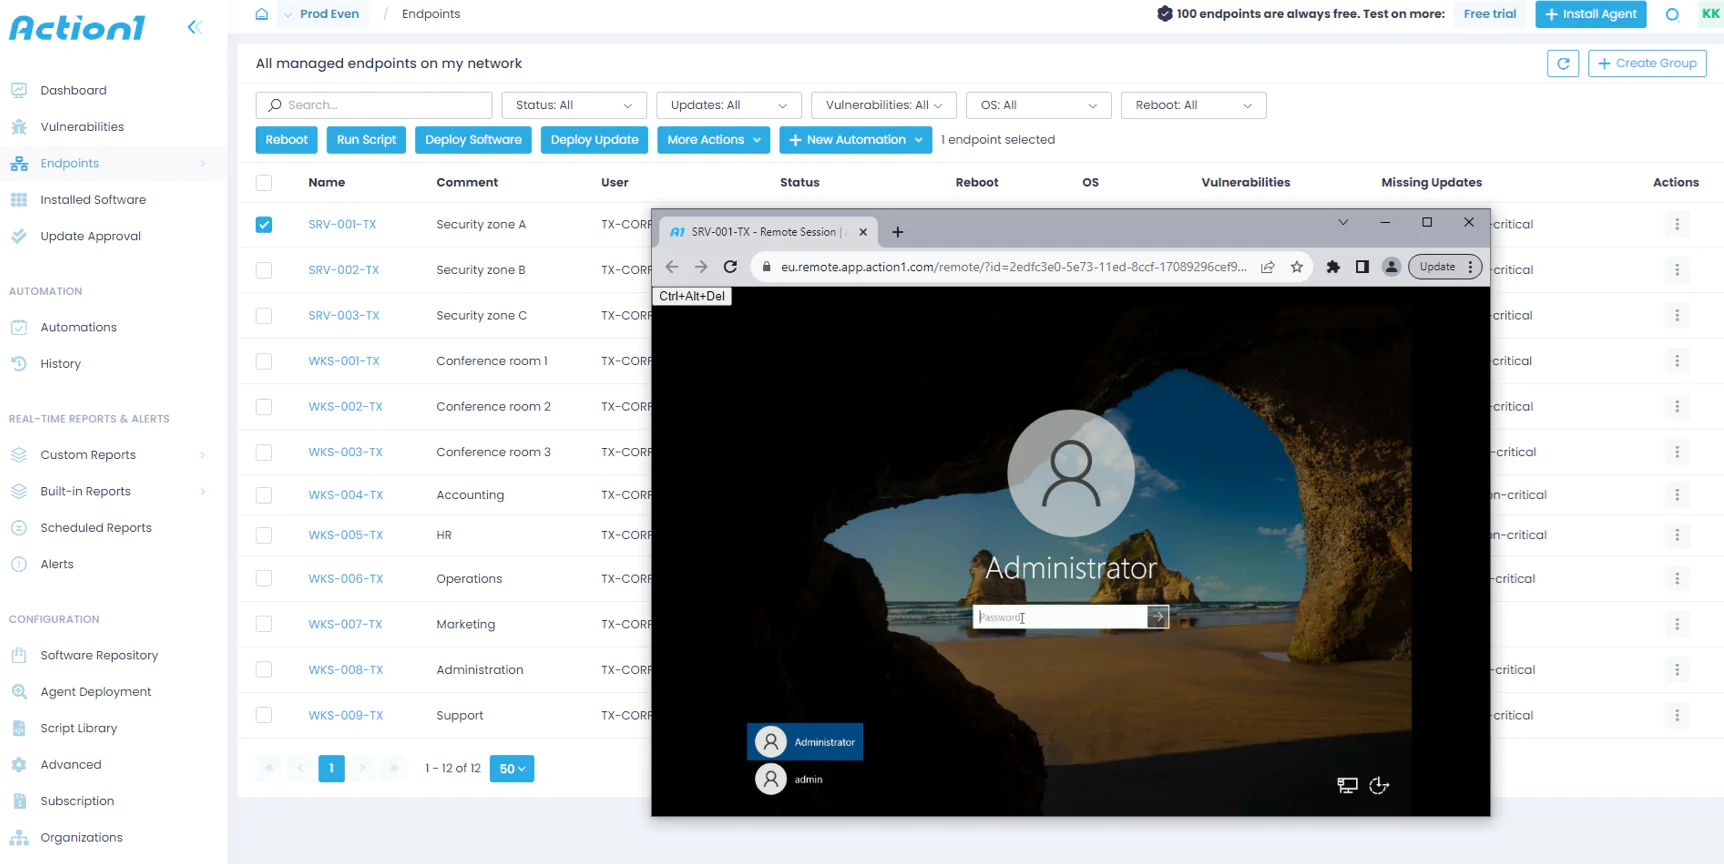
Action1 will start a remote desktop browser in the new tab. In case of unattended access (no one is logged in to this endpoint at the moment), you will immediately proceed to the login page. If someone is using the PC, the endpoint owner will have 15 seconds to deny or accept connection before the remote session starts automatically. To finish a session, just close the tab.
Advanced Remote Desktop Settings for Compliance & Privacy
Action1 remote desktop is compliant with privacy laws and helps you protect personal data. By default, logged-in users have 15 seconds to decide whether they want to accept a remote desktop connection or reject it. Fine-tune the remote desktop settings to provide more wiggle room for device owners, including the ability to deny connections.
Navigate to the Advanced page and select + New to add a new advanced setting.
- End-user Prompt Logo: This setting allows you to upload your own logo that will be displayed in all end-user prompts, such as reboot requests.
- Remote Desktop Prompt Timeout: This setting defines the timeout period in seconds (ranging from 1 to 180 seconds; default is 15 seconds) given to a remote interactive user to accept or decline a connection. This allows users ample time to complete their tasks and securely store sensitive data.
- Remote Desktop Default User Choice: This setting defines the default action for a remote user (either accept or reject; the default is accept).
- Remote Desktop Connection Prompt Customization: Captions, texts and buttons in end-user remote desktop connection prompts
These settings can be assigned to a certain scope: entire enterprise (all endpoints), organization (all endpoint in an organization), or group (all endpoints in a specific group).
Remote Desktop Connectivity
Action1’s Remote Desktop feature is designed to provide efficient and secure remote access to endpoints, with behavior influenced by the account’s configured region:
- North America Region: Accounts set up in this region benefit from a “Global Access” capability. Remote Desktop connections initiated from various global locations (e.g., South America, the Middle East) are automatically routed through the nearest available cloud infrastructure, ensuring low-latency access.
- Europe and Australia Regions: For accounts configured in these regions, Remote Desktop connections are consistently routed through the respective regional infrastructure, regardless of the user’s current geographic location.


