Table of Contents:
How to automate administration with Windows PowerShell 2.0 Remoting
How to run Powershell script as administrator
Action1’s remote administration tool to run PowerShell script remotely
- How to run a PowerShell script on a remote computer
- How to run a PowerShell script with administrative privileges.
How To Automate Administration With Windows PowerShell 2.0 Remoting
PowerShell Remoting (PSRemoting) infrastructure is based on Windows Remote Management version 2.0 (WinRM 2.0), and therefore inherits all the advantages of this technology, among which are transfer encryption encrypting the data transferred, and the ability to work usage of HTTP / HTTPS ports. PSRemoting offers a wide range of ever-useful features to administer remote computers and run commands on them.
Before discovering the PowerShell Remoting potential, you first need to activate it on workstations with administrator or standard privileges. To do so, run the cmdlet (Windows PowerShell command) Enable-PSRemoting. You may also add the -Force key to continue with no confirmation. This command prompt runs WinRM quickconfig, if necessary, and creates exceptions in Windows Firewall so that no further action is needed.
Having done things right, you’ve got access to other computers, and you can remotely execute commands by using the Invoke-Command cmdlet (or its alias — icm):
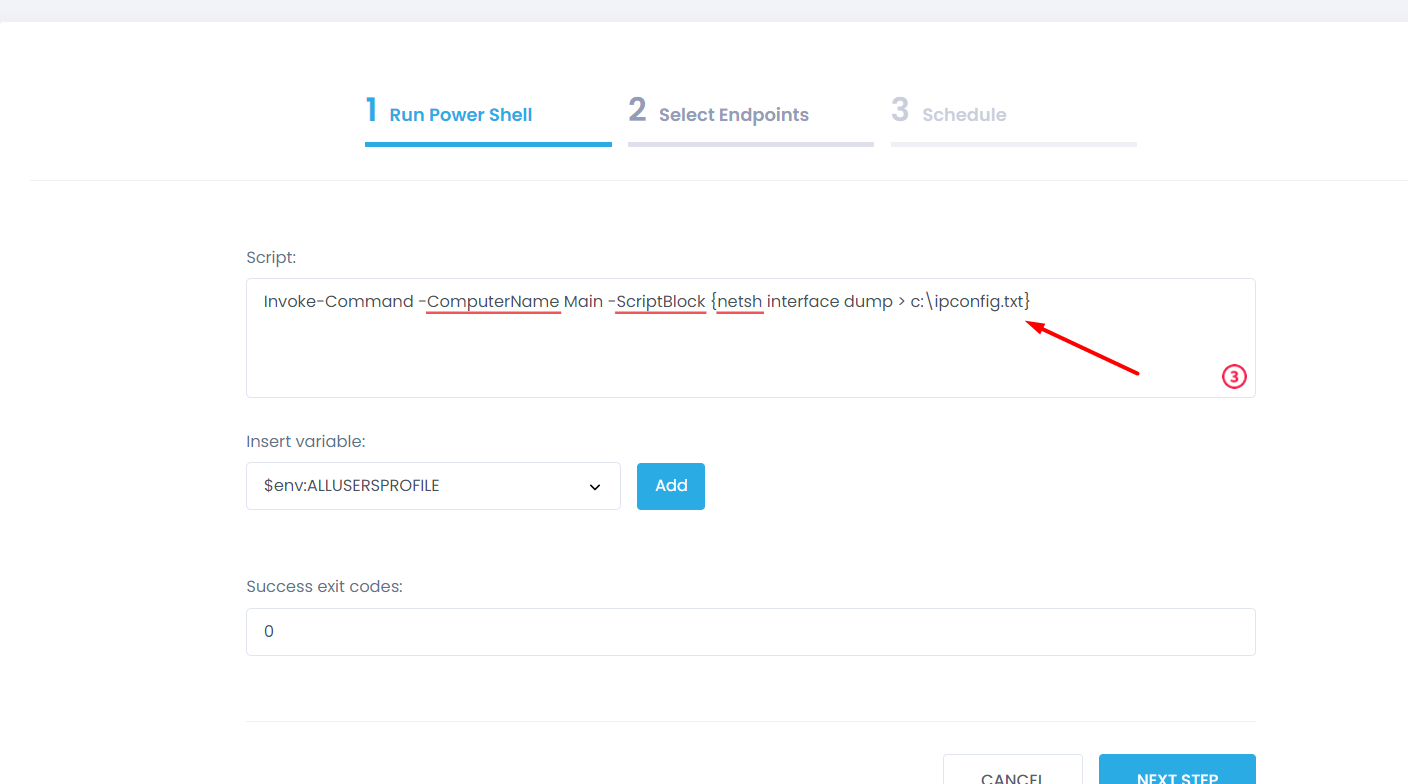
Invoke-Command -ComputerName Main -ScriptBlock {netsh interface dump > c:\ipconfig.txt}
You adjust the command specifying the -ComputerName parameter with one or multiple workstations.
Meanwhile, you’ll find the following sequence quite useful as it displays the version of the Explorer.exe file from three computers at once:
$Command = {(get-item c:\Windows\explorer.exe).VersionInfo.FileVersion} Invoke-Command -ComputerName Main, Server7, Replica -ScriptBlock $Command
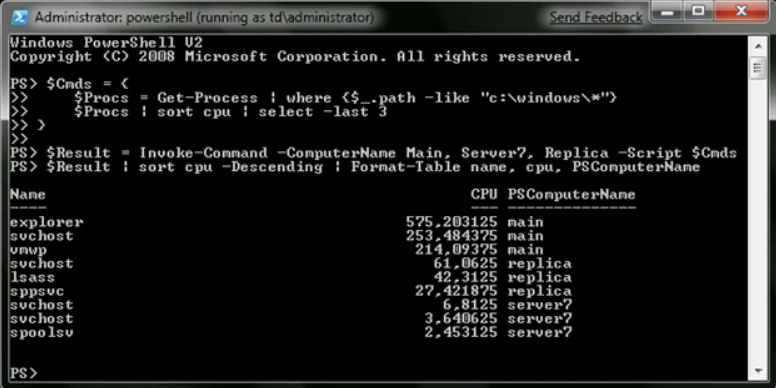
Running commands grouped in one block at once, you place their execution results on several computers into a variable and process them on endpoints using Windows PowerShell.
To start an interactive session with a single remote computer, use the Enter-PSSession. To exit the session, type the Exit-PSSession cmdlet or simply click Exit.
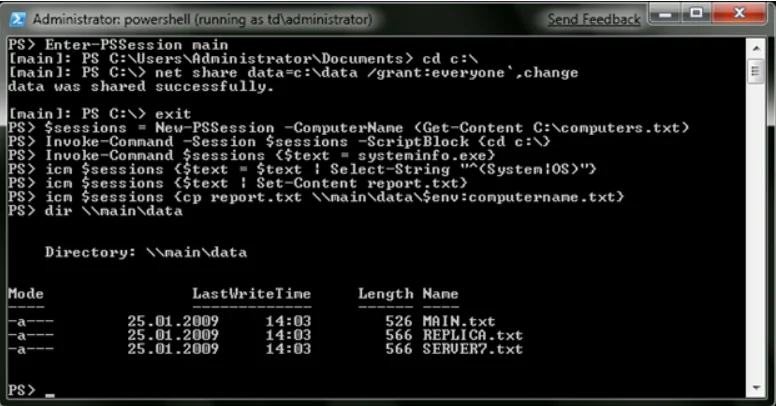
The New-PSSession cmdlet creates sessions with remote computers, whose pointers can be placed in a variable and pass it as an argument for Invoke-Command to execute commands on multiple computers at once in a persistent environment. Below, you’ll find an example of running a sequence of commands simultaneously on remote computers from the list c: \ computers.txt.
How to Run Powershell Script as Administrator
Method 1: Modify a Script to Force Elevation
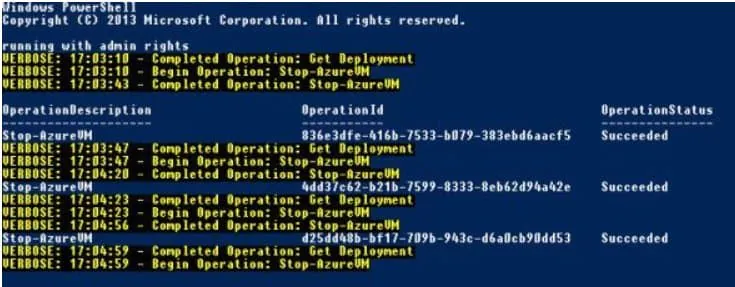
If you use the code snippet (see below) at the start of your PowerShell script, you run the UAC credential prompt requiring an administrator’s approval. After you’ve resolved the request, the code is being processed by a computer.
Unlock the code snippet:
Method 2: Run a Code from an Elevated Instance of the Windows PowerShell Integrated Scripting Environment (ISE)
Another way of running PowerShell scripts as an administrator is to run scripts using the Windows PowerShell ISE. To start the ISE with administrator privileges:
- Click on the Start menu (or the Windows key).
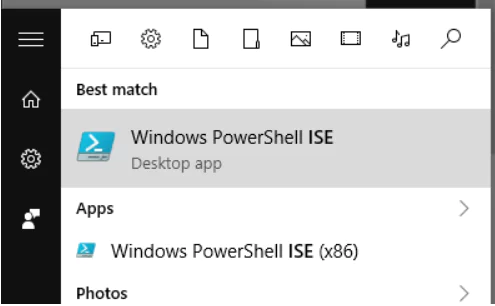
- Type powershell ise in the search box, and select Windows PowerShell ISE.
- Press CTRL+SHIFT+ENTER to start the ISE (enter the administrator credentials if prompted).
- In the PowerShell ISE window, you go to the File drop-down menu and choose the Open option to load your script.

- After the script is loaded into the ISE, press F5 to run the script.
Action1’s Remote Administration Tool to Run PowerShell Script Remotely
Action1’s intuitive dashboard helps optimize routine tasks, significantly scaling up IT productivity.
Step 1: After logging into the Action1 dashboard, in the Navigation pane (the left column), select Managed Endpoints and mark the endpoint, for which you are going to run a remote PowerShell script.
Step 2: Then click on the More Actions menu and select the Run PowerShell option.

Step 3: In the box, type the respective command to run a remote Powershell script.
Step 4: In the Select Managed Endpoints window, you mark those endpoints on which you are going to run a remote PowerShell script. You can add all the available endpoints or mark them one by one.
Step 5: Schedule the action (Run now/ No schedule yet/ At specific time/ Repeat) and Finish.
Action1’s RMM Solution
Staying competitive in the market is always a challenge, and loud words don’t do wonders for scaling up your business. But actions do! With cloud-based RMM solution Action1, your IT department will timely deploy patches and updates, manage IT assets, access and troubleshoot remote desktops, and complete many other complex tasks.
Read the of our product or be the judge — make the most of a free trial.


