
When your company is small, it isn’t hard to manually install such software on multiple computers. However, once the employee count grows or employees begin to work remotely, manual software deployment tactics become obsolete. In order to handle this workload efficiently, IT or system administrators who value their time often turn to endpoint management solutions and automation tools.
In this article, we’ll show you how to remotely install software packages on multiple computers simultaneously using Group Policy Object (GPO).
Read also: How to install software on Windows systems using WMIC.
Three Things You Need for Successfully Install Apps via GPO in Your Organization
There are three things you will need to do in order to successfully install software through a GPO on Windows Server.
- First, you need a Microsoft installation file named .msi — you cannot use the .exe file that’s on the software installation DVD. You can use a packaging utility to convert this .exe file into an .msi file. Many of these utilities are available for instant download online. You’ll have to pay for some of them, but there are also many that are free. Some examples are MSI Studio(30-day free trial) and Exe-to-msi.
- Next, you need to create a Shared Folder on your network where the software can live. Make sure that each computer has at least Read access to this folder and its contents.
- Lastly, you need a new Group Policy Object (GPO) associated with the relevant Organization Unit.
Software Installation Through GPO: A Step-by-step Guide
1. Create a New Shared Folder.
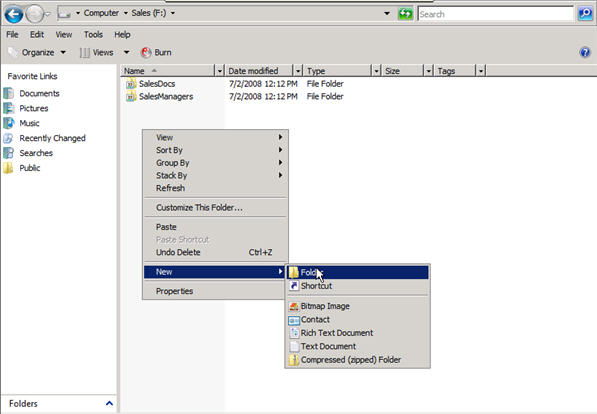
Once you have a .msi package, you can go ahead and create a Shared Folder on our network. To do this, simply go to the location on your network, right-click and select New, then select Folder.
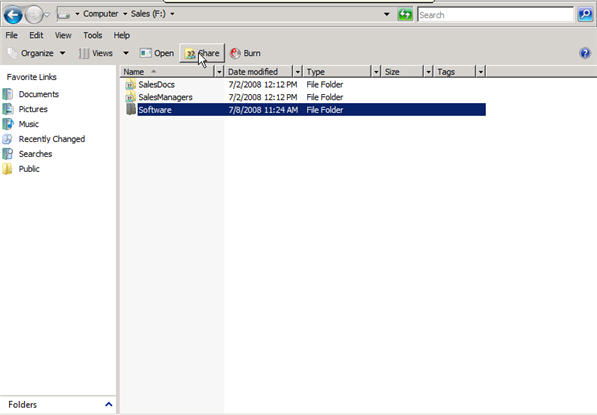
2. Name and Share Your Folder.
To give the folder a name (e.g. “Software”) simply click on the default name (New Folder) and type in the new name. Then to share, select Folder and then click on the Share button on the menu toolbar.
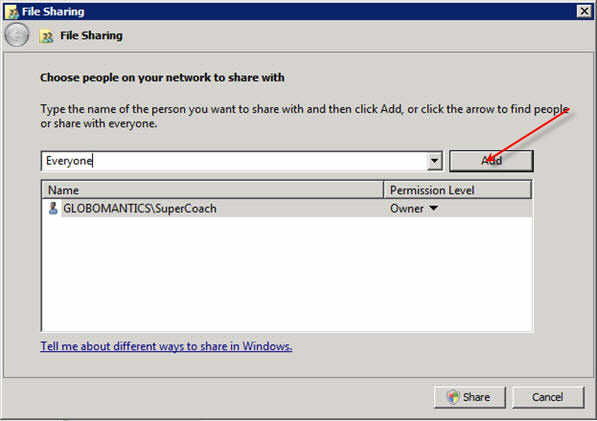
3. Add Read Access to Your Shared Folder.
Every machine needs to have at least Read access to this folder. To enable Read access, type in Everyone and click Enter, or click on the Add button.
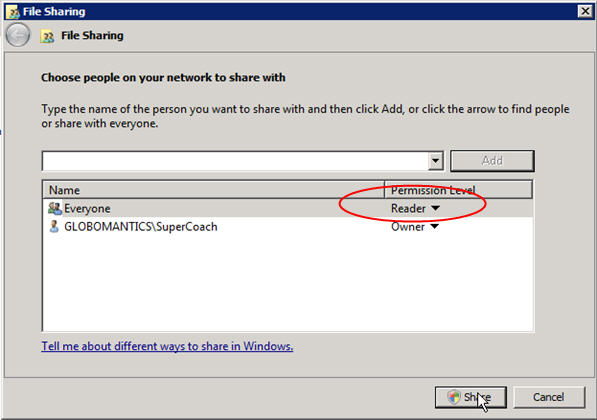
4. Use the Share Button to Allow Access to the Folder.
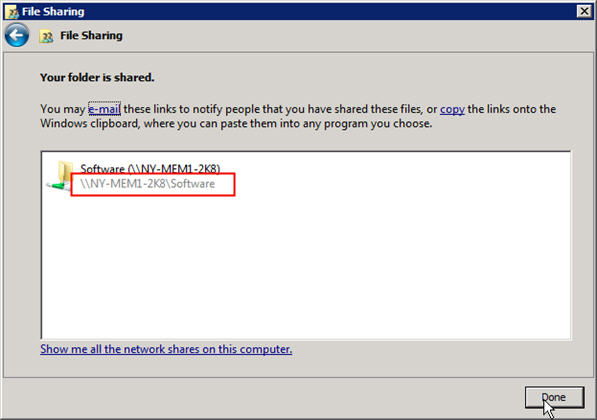
Finally, open the File Sharing window and make sure that the Permission Level is set to Reader. Then click Share.
5. Make a Note of the Location of This Shared Folder.
Be sure to write down the path to the Shared Folder so you can access it later.
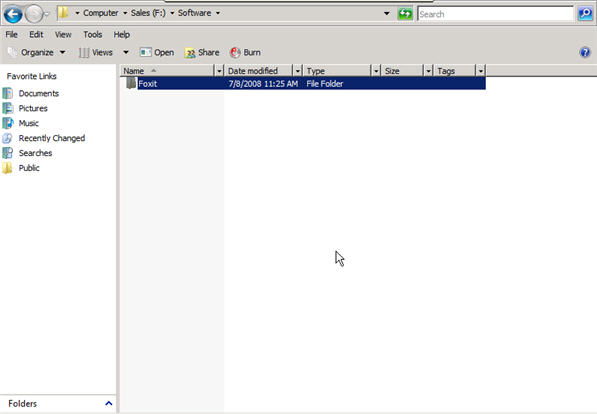
6. Create a New Folder for the Installation Files.
Double-click on the Shared Folder and once again perform the steps to create a new folder. Now name the folder with a name specific to the software you are going to install. We are going to call it “Foxit”.
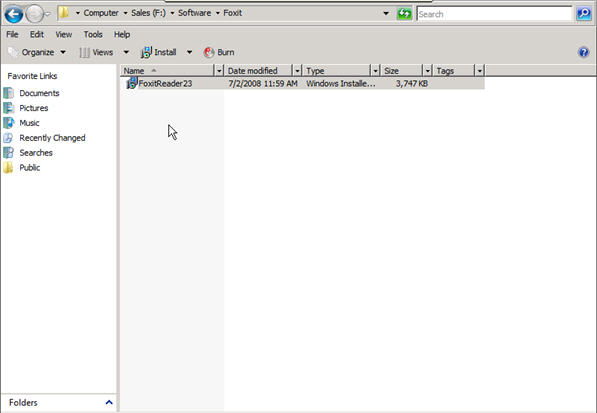
7. Paste The .Msi File into Created Directory.
Double-click on the new folder and copy and paste the .msi file.
8. Switch to Our Domain Controller (Dc1).
Follow these steps to switch to our Domain Controller:
- Switch to our DC1 server. Then open Server Manager.
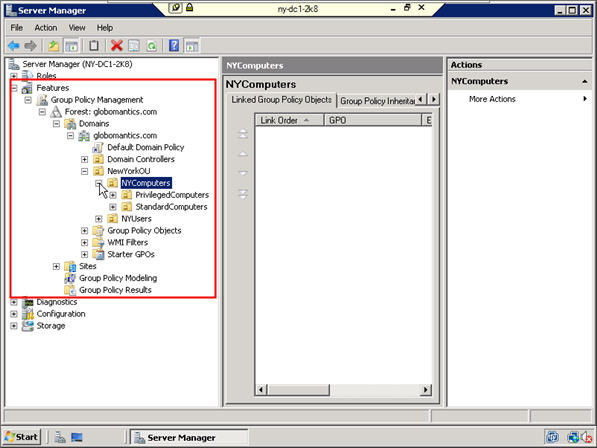
- Navigate to the Organizational Unit where the new Group Policy Object will reside.
- Click on the + symbol to expand Features, then Group Policy Management, and then your Forest.
- Expand Domains and then expand the domain in which you want to create the GPO.
- Once you are in the correct domain, expand the Organizational Unit.
- Since we want the software to be installed on every single computer, we need to create the Group Policy Object (GPO). To do this, click on Group Policy Object within the Organizational Unit Folder.
9. Create a New Group Policy Object.
To create a new GPO, right-click on the appropriate Organization Unit and select Create a GPO in this domain, and Link it here…

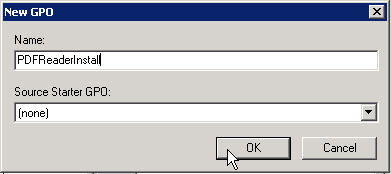
10. Think up a Name for GPO
In the dialog box that appears, name your new GPO and then click OK.
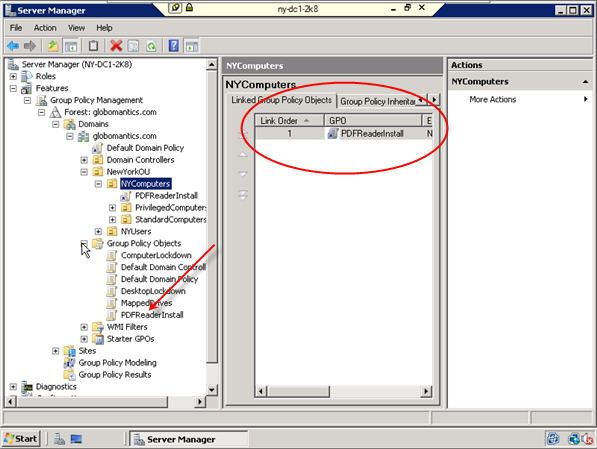
11. Check That the New GPO Has Been Created.
Expand the Group Policy Objects. You should see your GPO listed there. That GPO is now being linked to our NYComputers OU.
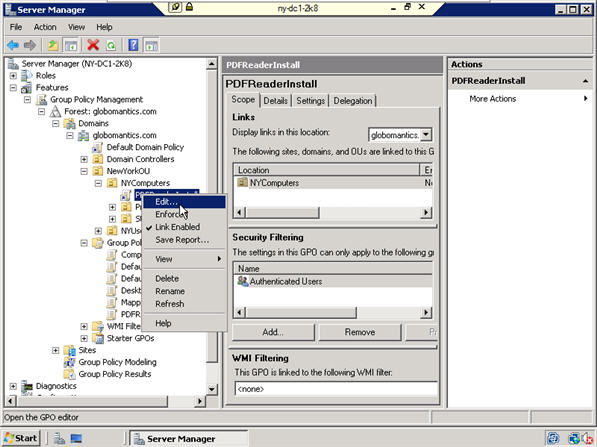
12. Edit the GPO in the Context Menu.
Right click on the GPO under the Organization Unit. Then select Edit.
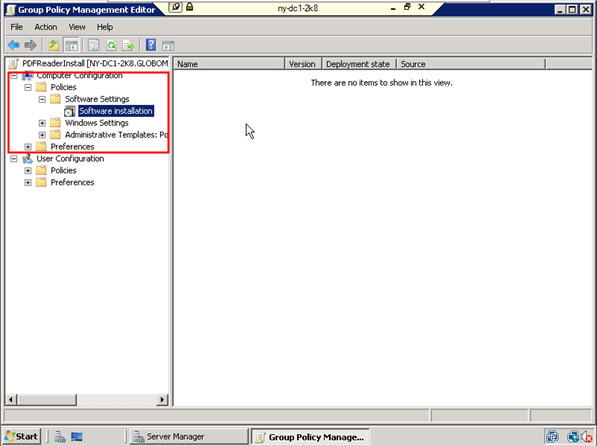
13. Run Software Installation in the Suitable Node.
Expand Computer Configuration, then Policies, and then Software Settings. Next, click on Software Installation.
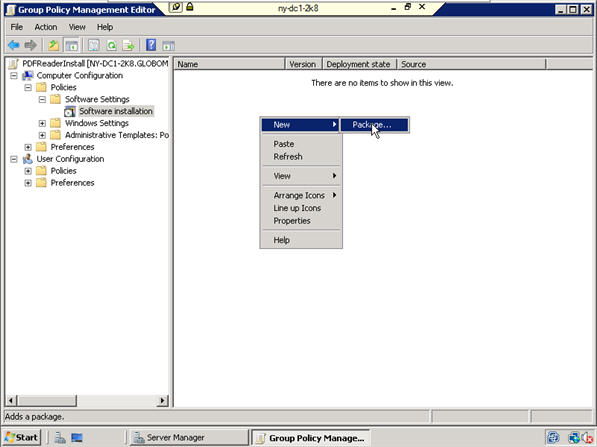
14. Create a New Package.
Right click on Software Installation, select New and then select Package.
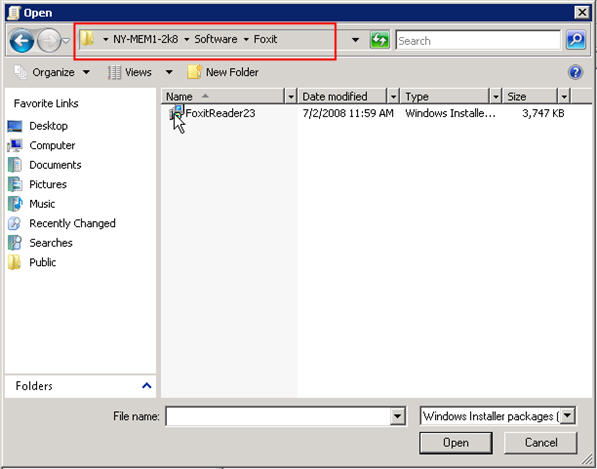
15. Find and Open Your .Msi File.
Navigate to your .msi file (you should have noted down the file location earlier). Double-click on the file and then select Open.
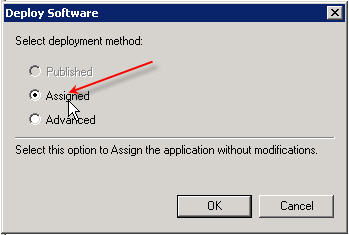
16. Choose Your Deployment Method.
In the dialog window that opens, select Assigned and then click OK.
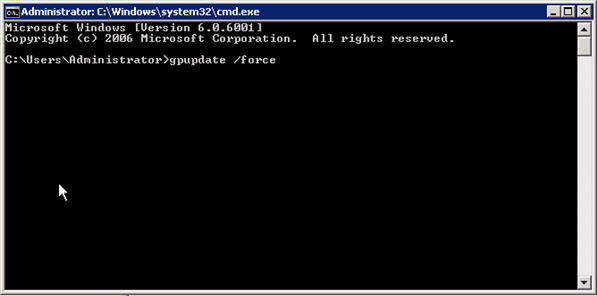
17. Start Updating the Group Policy Object.
Don’t forget to start updating the Group Policy Object. To do this, open a command line on the domain controller and enter gpupdate/force.
Once the update is finished, you can go to one of your clients and restart the machine. Keep in mind that in order for the software to be installed on a computer, you will need to do a hard reboot.
How to Deploy Software to Remote Computers with the Action1 Solution for Businesses
To minimize downtime and thus make a company’s workflow more efficient, IT professionals look to tools that offer more features for productive endpoint management and security. In particular, cloud endpoint management solutions such as Action1 can tremendously accelerate your IT tasks delivery. Action1 allows IT professionals to efficiently manage and force group policy updates for computers outside the local network. In addition, the platform also offers total control of patch management, OS and application upgrade distribution, software deployment, remote access, as well as many other features to run your IT security and administration as seamlessly as possible.
Follow the below steps to deploy software across your corporate endpoint network:
- Launch the Action1 application.
- Follow these steps to install software with inbuilt AppStore.
- Otherwise, use this guide to upload your own installation package to distribute across your selected endpoints.
Get Started with Action1 Cloud Solution
Action1 allows IT professionals to efficiently manage configurations for computers within and outside the local network. In addition, the platform offers total control of patch management, OS and application upgrade distribution, software deployment, remote access, as well as many other features to run your IT security and administration as seamlessly as possible.


